
There are a number of blogging platforms out there, but only a handful that are specifically for classroom use. One option that often gets overlooked is to use Padlet for student blogging. It is simple to set up, has lots of options, and looks great! Here is how you can start blogging in your classroom with Padlet.
In summary this is what happens:
- The teacher creates an account.
- The teacher creates a password-protected stream (blog) padlet for the class and shares the link with their students.
- Students write on their posts and the teacher moderates.
- The teacher can export the posts as a PDF for private comments to individuals.
- If you want to share the blog with others outside of the class, you can make a public copy that is set at read only.
What benefits do the students get out of it?
- Students can practice their language in a safe place before making it public.
- It is a creative outlet, allowing for a mix of various media.
- Students can get formative feedback on their writing skills.
- Students learn from one another.
Here is an example:
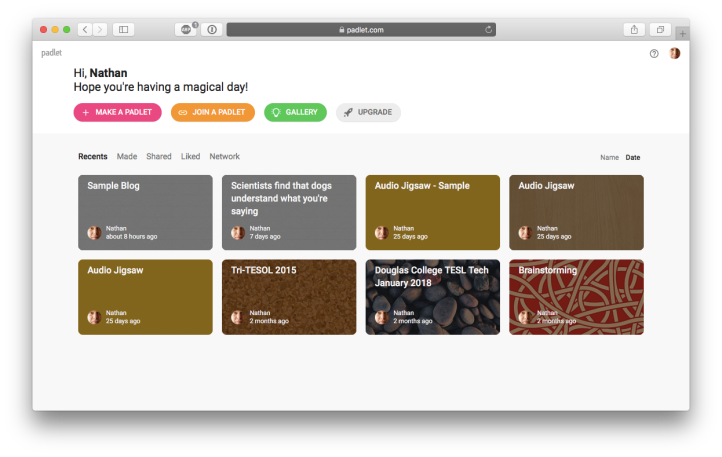
- Go to Padlet.com and click on Log in (or click on SIGN UP, IT’S FREE to create a free account if you haven’t done so already).

- Log in using your username, or email, and password.

- Click on MAKE A PADLET.
- Click on SELECT under Stream.

- Add information to Title and Description

- Scroll down to choose the background wallpaper (you can click on MORE to either see the other options or upload your own).

- Scroll down to choose an icon (you can click on MORE to either see the other options or upload your own).

- Turn on Attribution and Comments.

- Turn on Reactions and set to Like.

- Scroll down and change the address to something memorable.

- Click on NEXT.

- Click on Password protected and give it a password. Set the Those with access to Can Write.

- Turn on Moderation under Advanced.

- Click on SAVE.

- Click on START POSTING.

- Copy the URL from the address bar and share that along with the password with your students.
- Students now go to the page, put in the password, double-click anywhere on the page and start writing. They can also add images, videos, maps, files, and so much more!
- Once they have finished writing, you will see the posts on the page along with a moderate button. If it is from one of your students and appropriate, you can click to moderate it.
Here is a sample padlet blog I made using some posts from my reflections blog.


[…] interact with experts via a padlet mechanism? The uses for this app are endless. Here is a link to an article on using Padlet for blogging in the […]